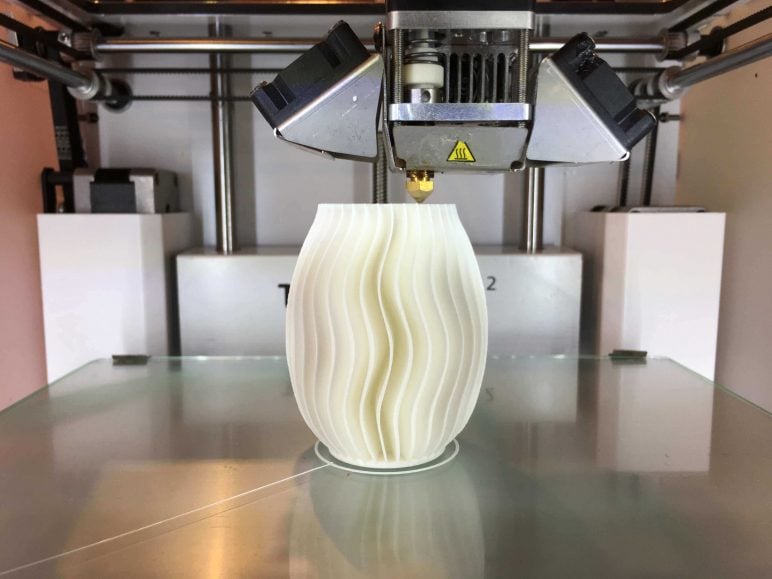
Is your 3D print stuck to the bed? Here are 6 ways how to remove 3D prints from the bed without ruining your build platform. Get ready for some really unusual methods.
As a new user of an FDM printer, you first fight to get the print to stick on the printing bed – and then again to get it off. There are different surface materials that people use. Blue painter’s tape, Kapton (a polyamide film) or straight glass plates (borosilicate, so it doesn’t shatter easily) are the most common options at the moment. Some people also apply glue stick to the print bed, which is known to prevent warping (which is the outer edges of the print bending upwards after cooling down) when printing in ABS plastic.
But no one seems to take a look into the best methods to get even the most stubborn objects off the build plate. We did, and we have got the 6 best methods to remove 3D prints from the print bed here for you.
Do you have another method to remove 3D prints from the bed? Please feel free to share it in the comments section.
1. HOW TO REMOVE 3D PRINTS FROM THE BEDRemove 3D Prints With Reasonable Force
The first thing you try when removing a 3D printed object. You carefully grab the print and try to move it off the platform. Grabbing, twisting and turning, should work in most cases.
But if not, you need more power. If the object isn’t something delicate, you will find yourself trying to step up your game a bit. If you’ve got a rubber mallet, you can take out the build platform and try to hit the object sideways (carefully!). Aim for rigid surfaces, you always risk to break the 3D print if you have come to the point where you solve your sticky problem so drastically.
If the object gives you a small gap to slide in the tip of a screwdriver, a light tap on the handle provides a lot more force than you can, and the print should pop off.
2. HOW TO REMOVE 3D PRINTS FROM THE BEDUse a Sharp, Flat Object
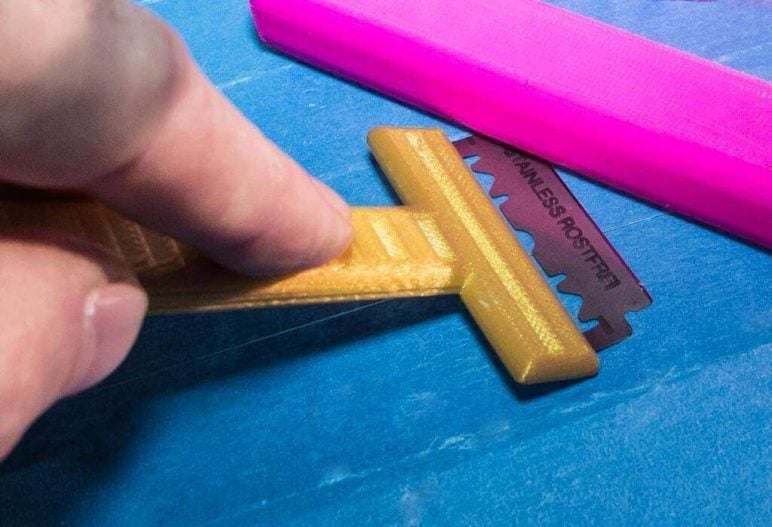
This category rounds up tools which you slide between the printed object and the build platform. You can use anything from spatulas or – even better – finer tools from an art supply store which you will find under the name of a “palette knife” or “painting knife”.
The finest blade you can usually find is a razor blade, but you should be extremely (!) careful not to hurt yourself. It helps to have a handle for the blade like the razor scraper model you can find on 3Dgeni.us. It was designed specifically for the task of removing 3D prints from the bed.
The disadvantage is that you will likely damage the surface. You may cut the upper layer and create some wrinkles in the surface which can cause problems with the next prints. If you want to put it that way, exchanging the tape is necessary when it worked too good, and the print stuck well – it’s a shame.
3. HOW TO REMOVE 3D PRINTS FROM THE BEDMake Use of Temperature Difference
This method works more subtle than the previous ones. Especially heated beds form a seemingly indestructible bond with the printed material sometimes.
So the first step after a print has finished is to let the printer and the heated bed cool down completely. If you’re lucky, the print pops right off afterwards. Otherwise, you can utilize the fact that the material properties of the plastic and the print platform – glass, aluminium or also plastic – are different. When the material gets colder, it contracts, and the different amounts of contraction cause the bond to break.
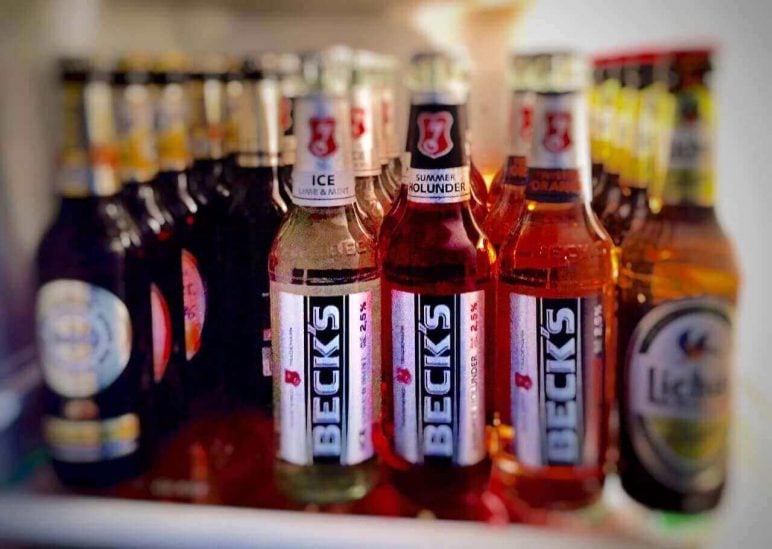
You can take advantage of this behaviour and use more extreme temperatures. Dropping a cool pack on the 3D print (try to cool down only one element- platform OR object) will increase the difference. It also works with canned CO2 or the “air duster” cans you can get at the hardware store. If you hold them upside down, the liquid leaks out. When it changes its aggregate state from liquid and evaporates, it absorbs energy, cooling down the area rapidly. Putting the build plate with the object in the fridge or freezer for half an hour works in many cases, too.
4. HOW TO REMOVE 3D PRINTS FROM THE BEDSolvent Can Be A Solution
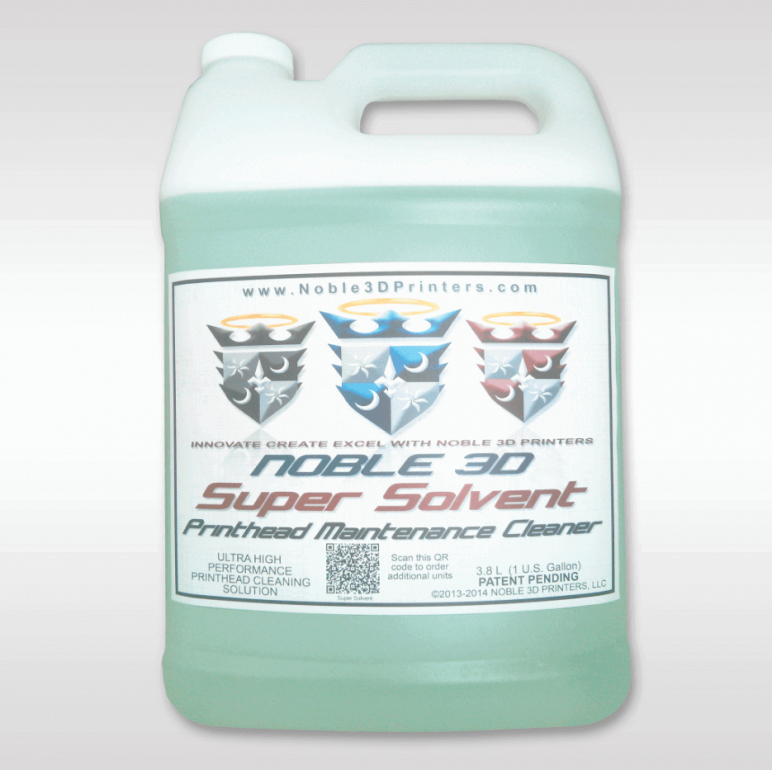
Solvent liquids should be the last resort, as they will make a new coating of blue tape inevitable. You can try to put a bit of isopropyl alcohol around the edges of the print and let it soak through the tape. Getting the print off will be easier. In case of doubt, you can take off the whole tape.
On build plates where you used glue stick, for example, warm water can do the trick.
5. HOW TO REMOVE 3D PRINTS FROM THE BEDJust Floss it off
You probably didn’t know, but dental floss can help remove stuck print asides from being good for your teeth. You fumble the string underneath the edge of the print and begin to move it horizontally in a sawing motion.
Depending on how much the print is stuck actually, you may need to do this along the whole bottom. The good thing is, this could leave your taping intact and works on all kinds of other build platforms.
6. HOW TO REMOVE 3D PRINTS FROM THE BEDBuy a Flexible Build Platform

Sick of all these methods that make nothing better? You should switch to a build plate that is flexible. A simple twist and any print falls off.
The new Prusa i3 Mk3, in example, comes with such a steel print plate. It plucks magnetically to the heated bed and can be bent, so the print comes off easily.
Flexible build platforms are available online by Zebra Printer Plates, who offer them in any custom and many popular sizes. Company Fleks3Dstarted a successful Kickstarter campaign for a flexible build-plate that fits to most printers.
Instructables user MikeTheMaker invented a DIY workaround that is similar. He is gluing on the blue tape as a kind of removable mat. The method seems to work well for him, so you should take a look at this tutorial and decide if this could be an option for you.