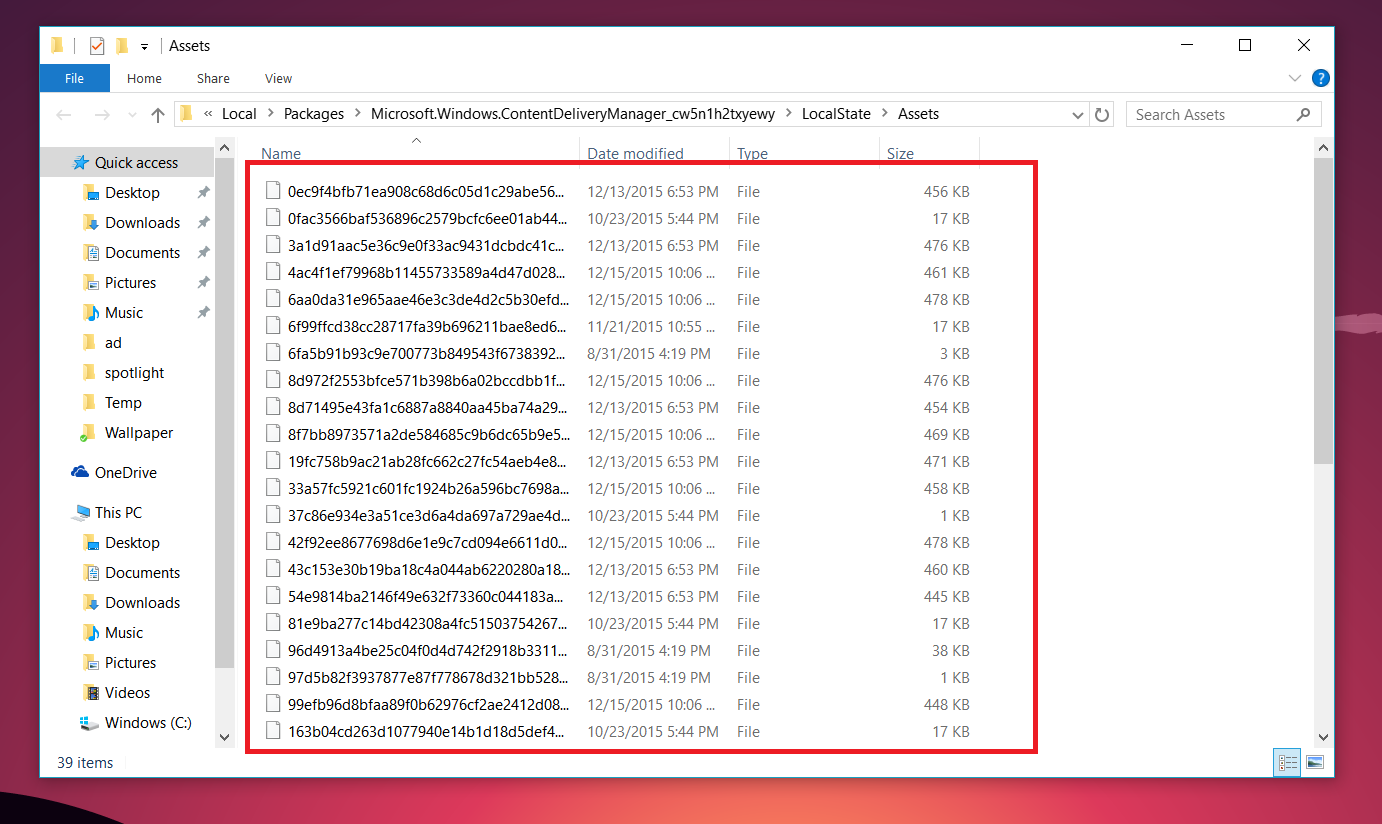
As you can probably figure, Spotlight images are cached on your local PC and hidden in a particular folder. They're given awful names like '8d71495e43fa1c6887a8840aa45…' but that is a different battle. Here is how to find them, copy them and save them for later use.
-
Hold down your Windows key plus R [Win + R] to launch the Run dialog prompt

-
Enter in the following command and then hit OK. Your best bet is to copy and paste:
%localappdata%\Packages\Microsoft.Windows.ContentDeliveryManager_cw5n1h2txyewy\LocalState\Assets

-
A folder will be opened in File Explorer with non-specific file names.

-
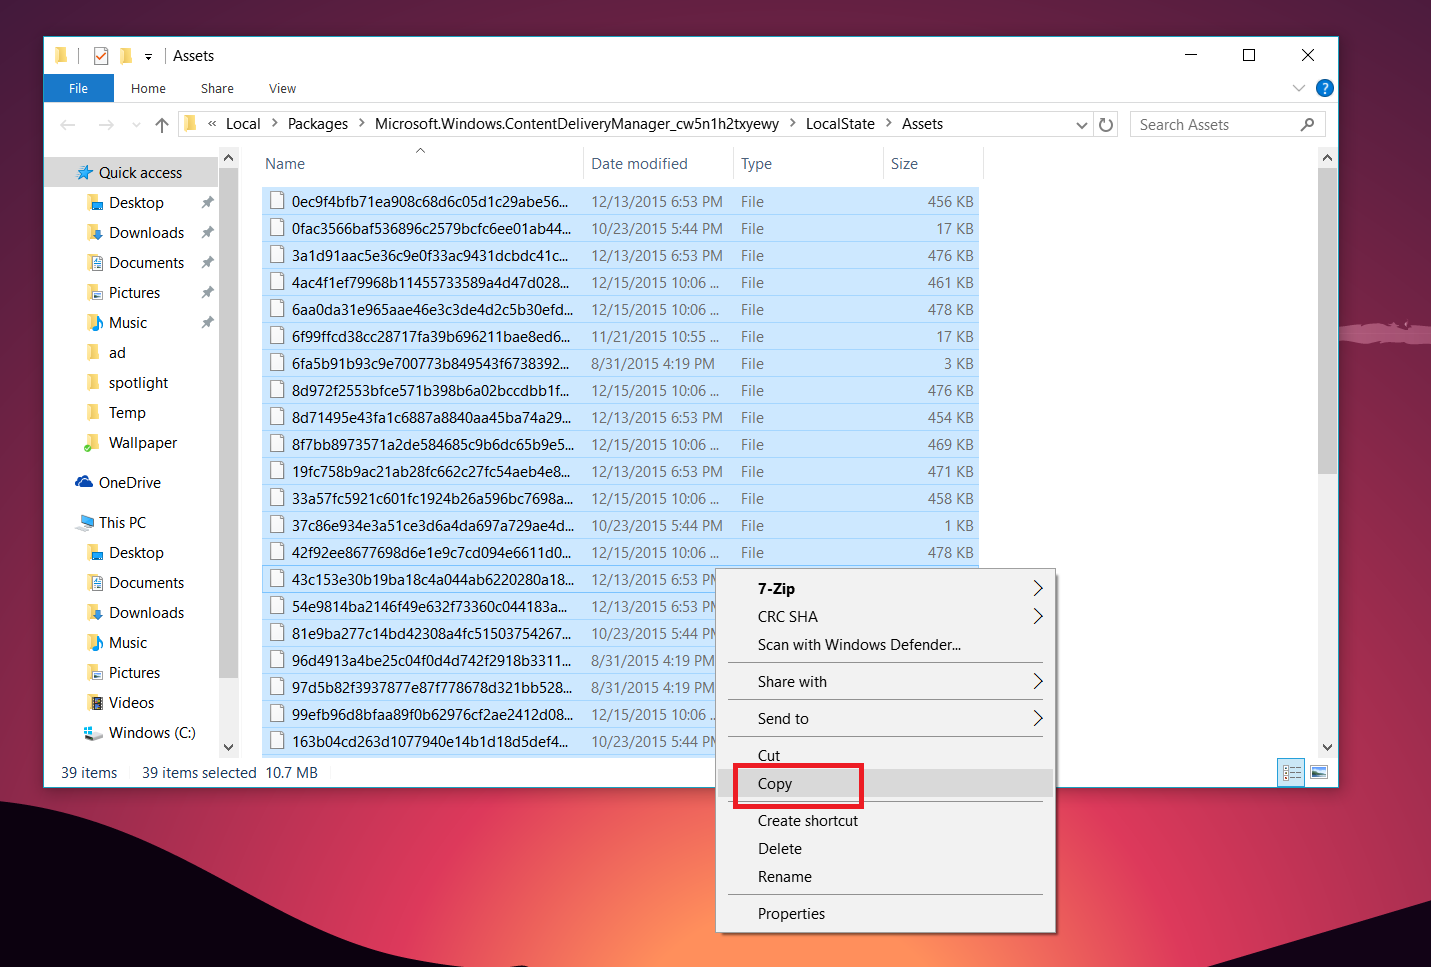
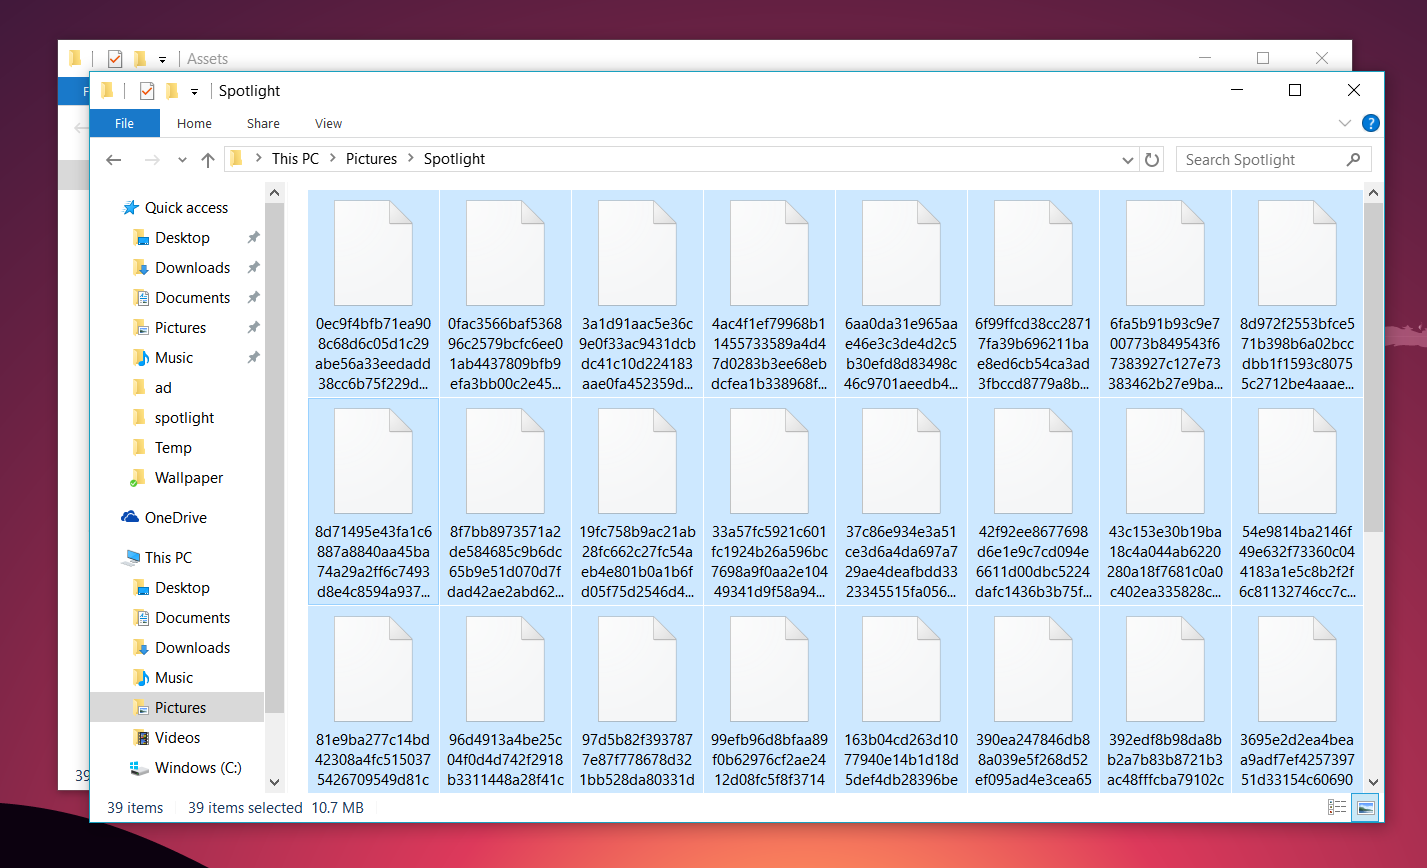
Copy and paste the files into a new folder preferably something under This PC > Pictures > Spotlight as a permanent location (or under OneDrive so you can have them everywhere).

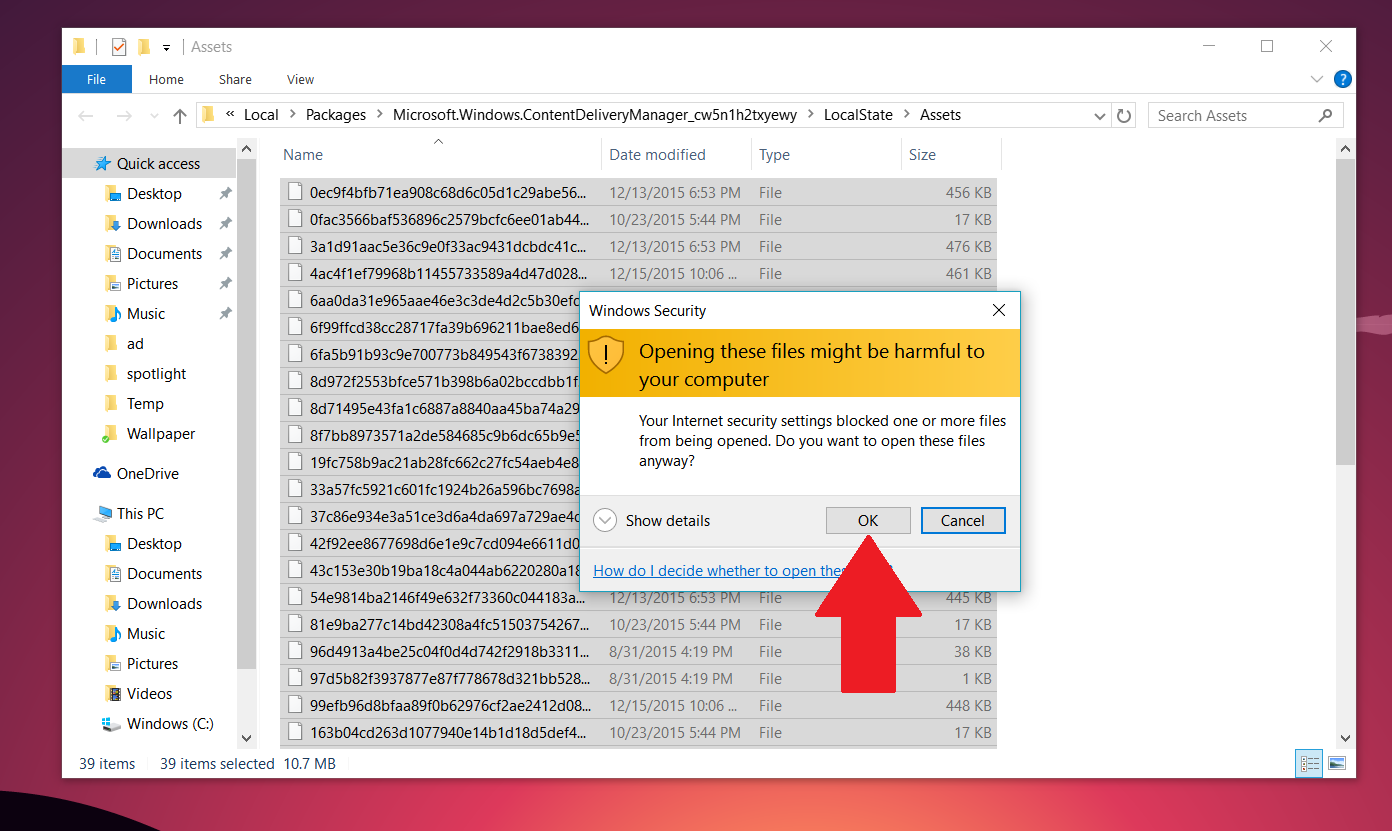
Note: You will see a warning prompt when you go to copy the files, simply hit OK to the warning.


-
You need to rename all the files with the JPG extension. You could do this one by one or in a batch command – here is how to do the latter:

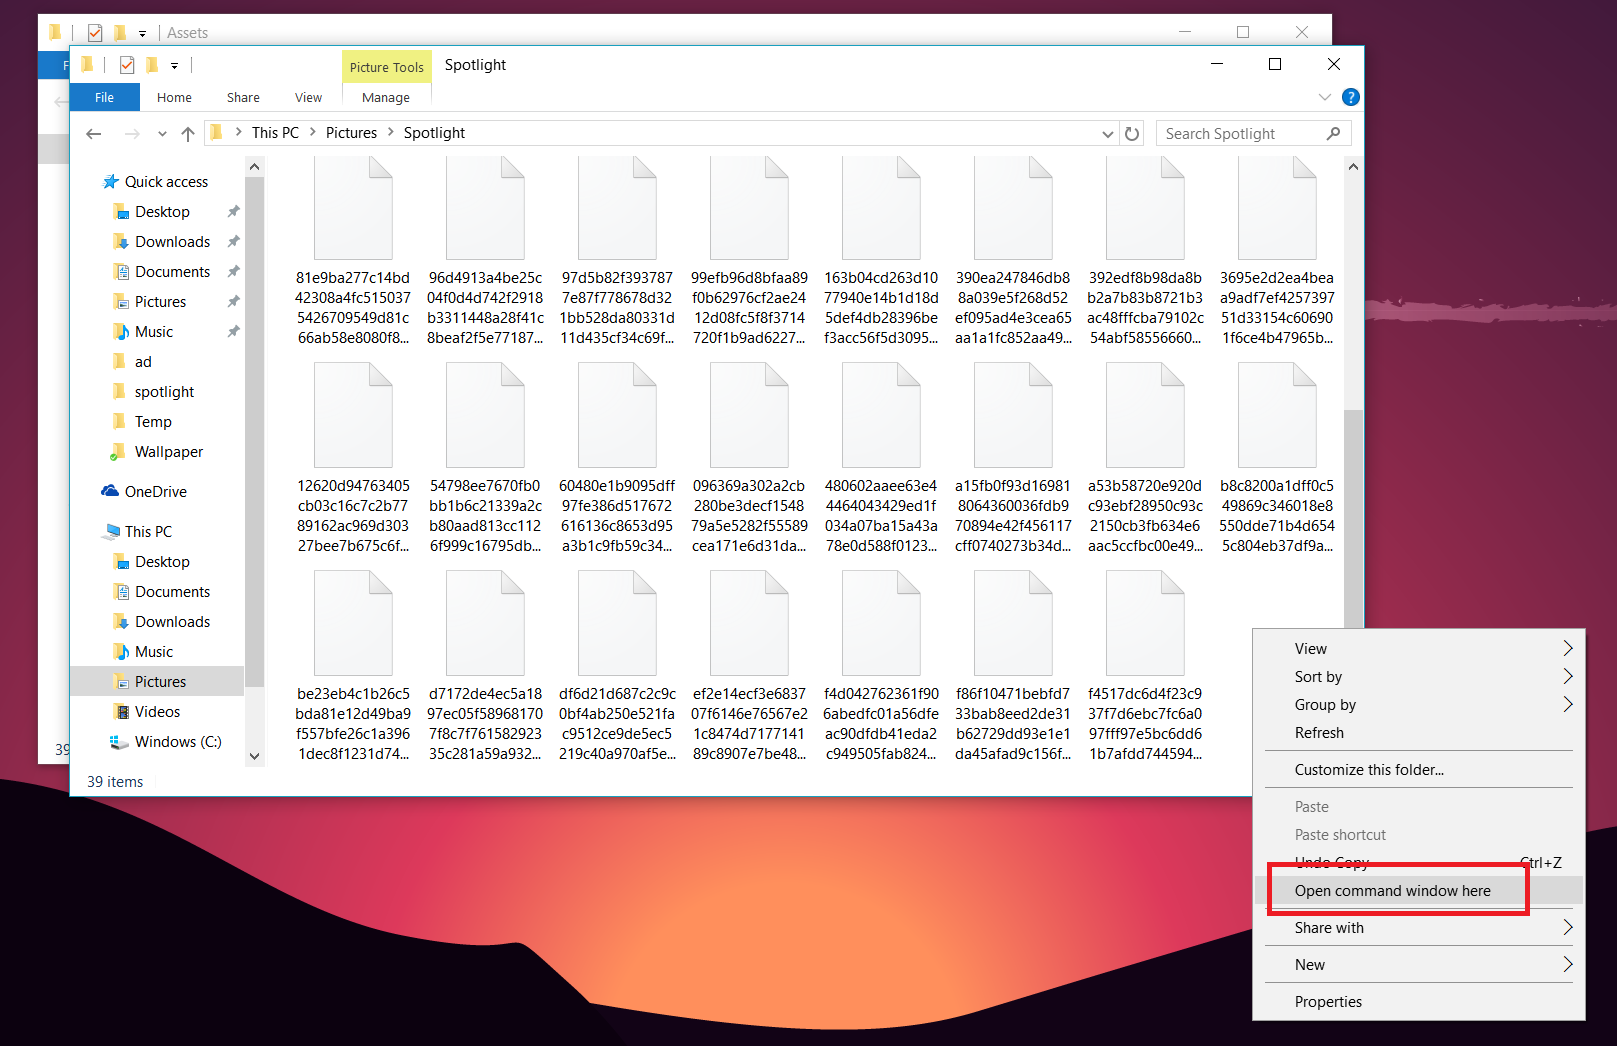
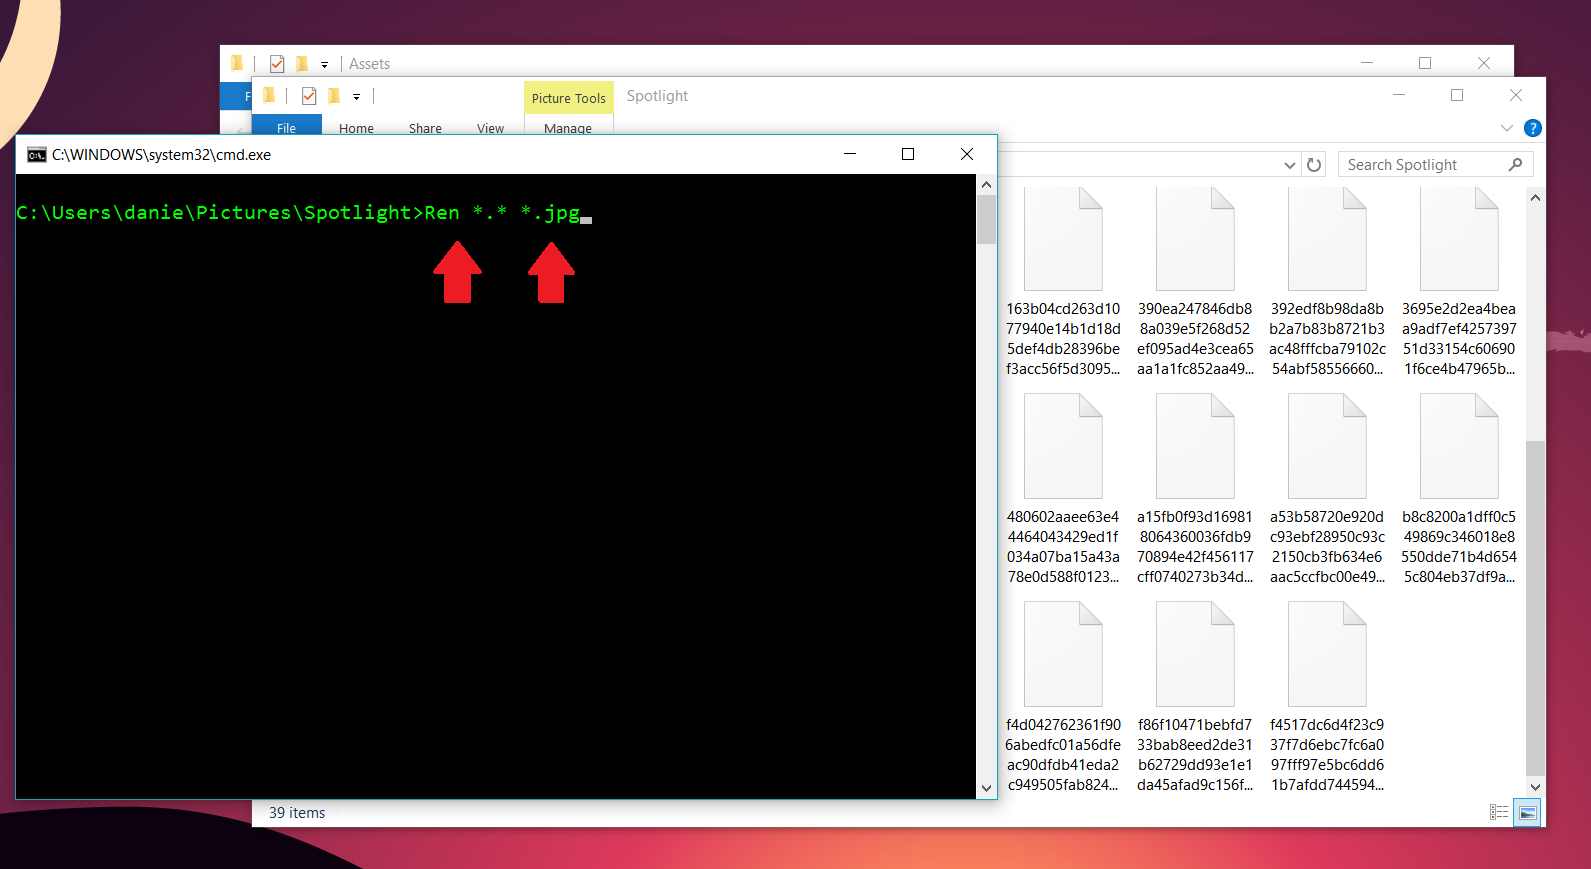
Hit Shift + Right-click with your mouse in the directory where you copied the images. ChooseOpen command window here and type in (or copy and paste)
Ren *.* *.jpg

This action will rename all the files with a JPG extension.
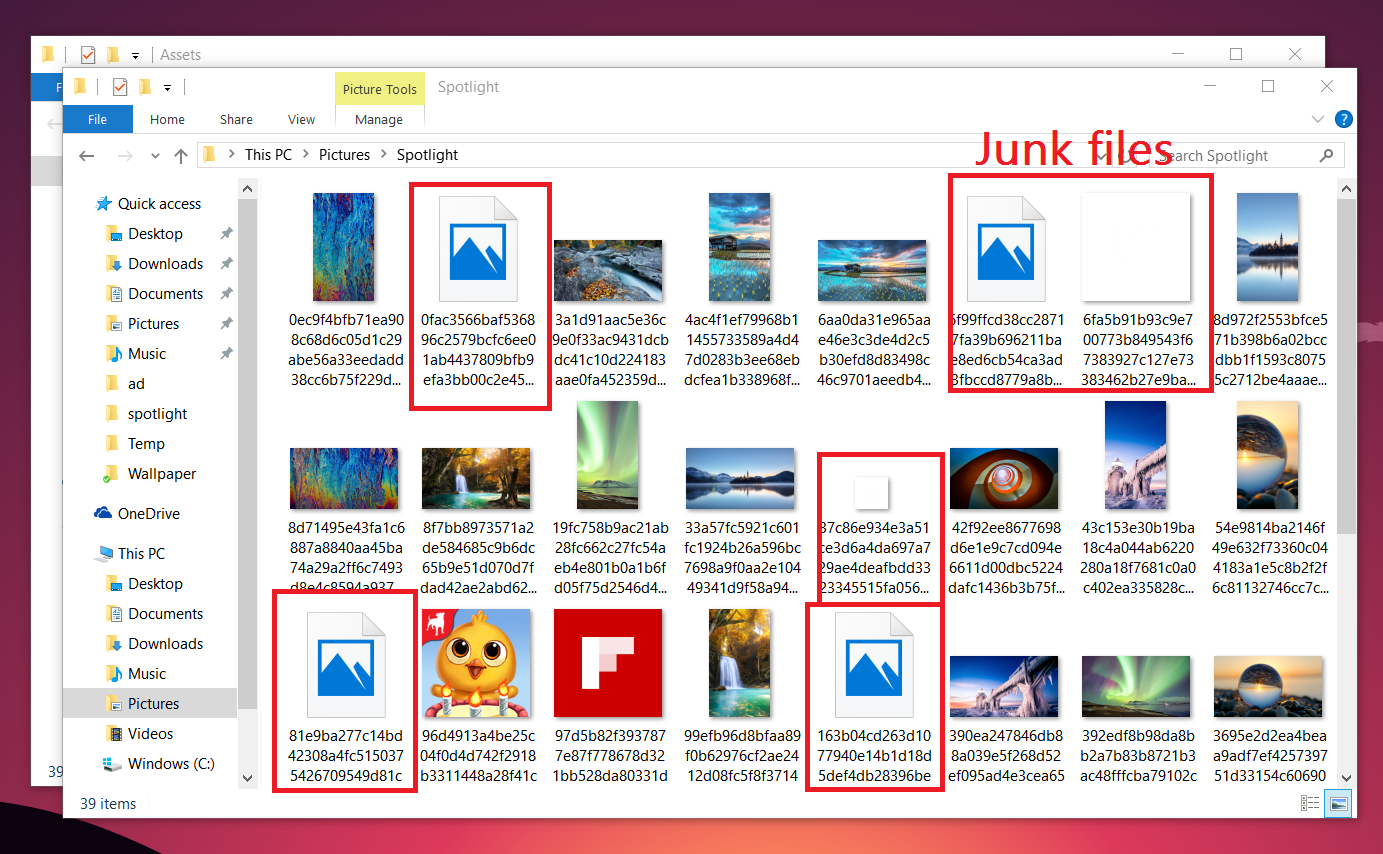
Note: Some of the files are cached junk and won't be actual images from Spotlight.
-
Filter and clean up
Some of the images won't be images at all so delete all the files you do not want (use Ctrl + Left-click on the mouse to multi-select files).


Bonus: Some of the images will also be vertical. For the vertical images, you may want to copy and paste them into a different folder as you can use them for your smartphone's Start or Lock screen.


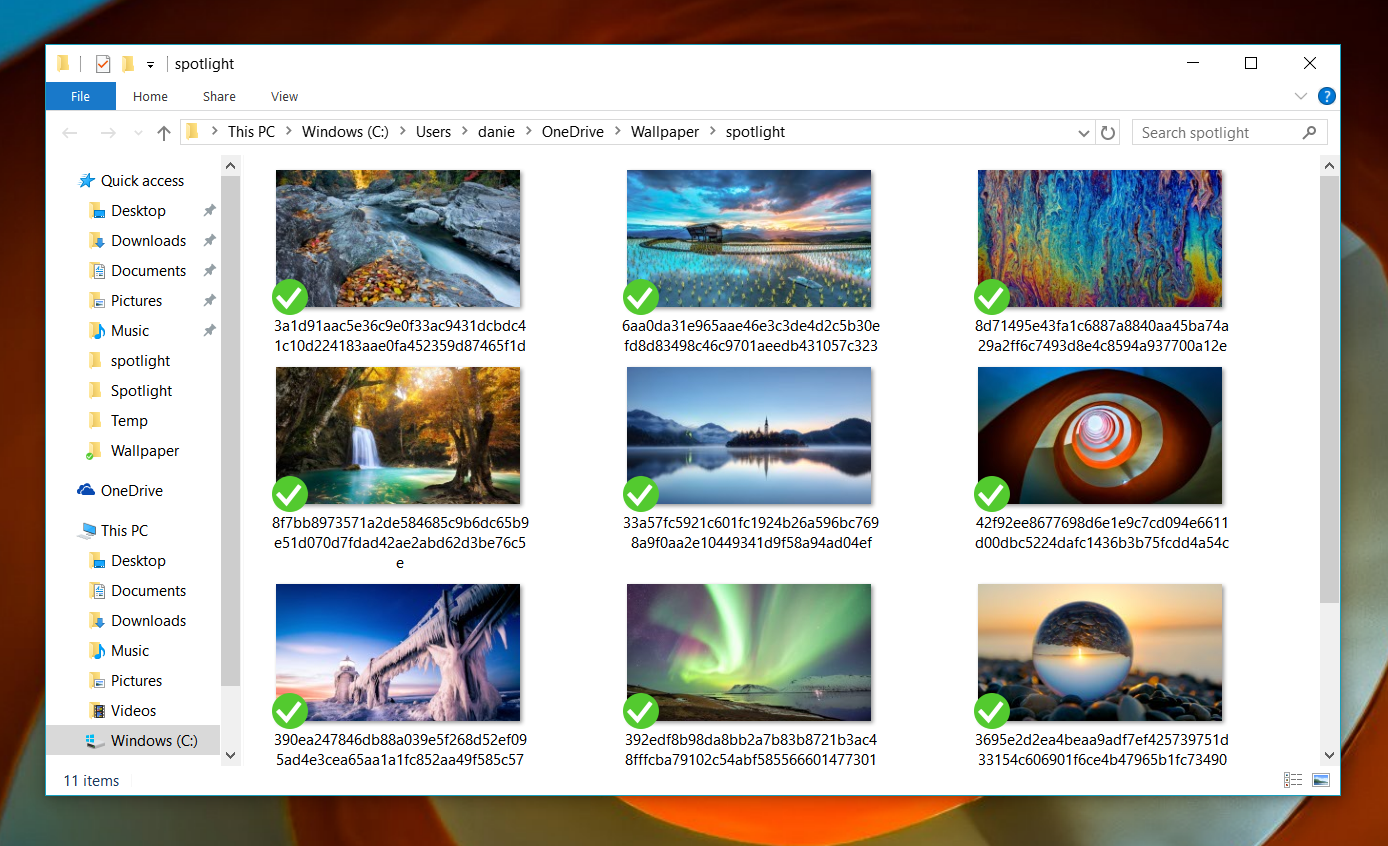

That's it! You may notice that you only have so many images available as it depends on how many Spotlight images were produced on your PC. You may want to re-run this tutorial every couple of weeks (or on different PCs if you have them) to recoup even more photos.